
 |
 |
| I chose to do googly eyes instead of french knots. It's completely up to you. That's part of the fun. |
 |
| The cat was actually my design. I saw others similar to this and made my own. I love the ribbon. It is already helping my 16 month old girl learn about bows. She can't tie it of course, but she tries. |

 |
| The owl page is one of my favorites. Again, the pattern came from http://www.imagineourlife.com |

TheArctic page  |
| I added my own flare to this page. My mom let me raid her craft room for scraps and I found some crazy fabrics. This particular fabric was very difficult to use but I think it was worth it. |
pattern from imagineourlife.com
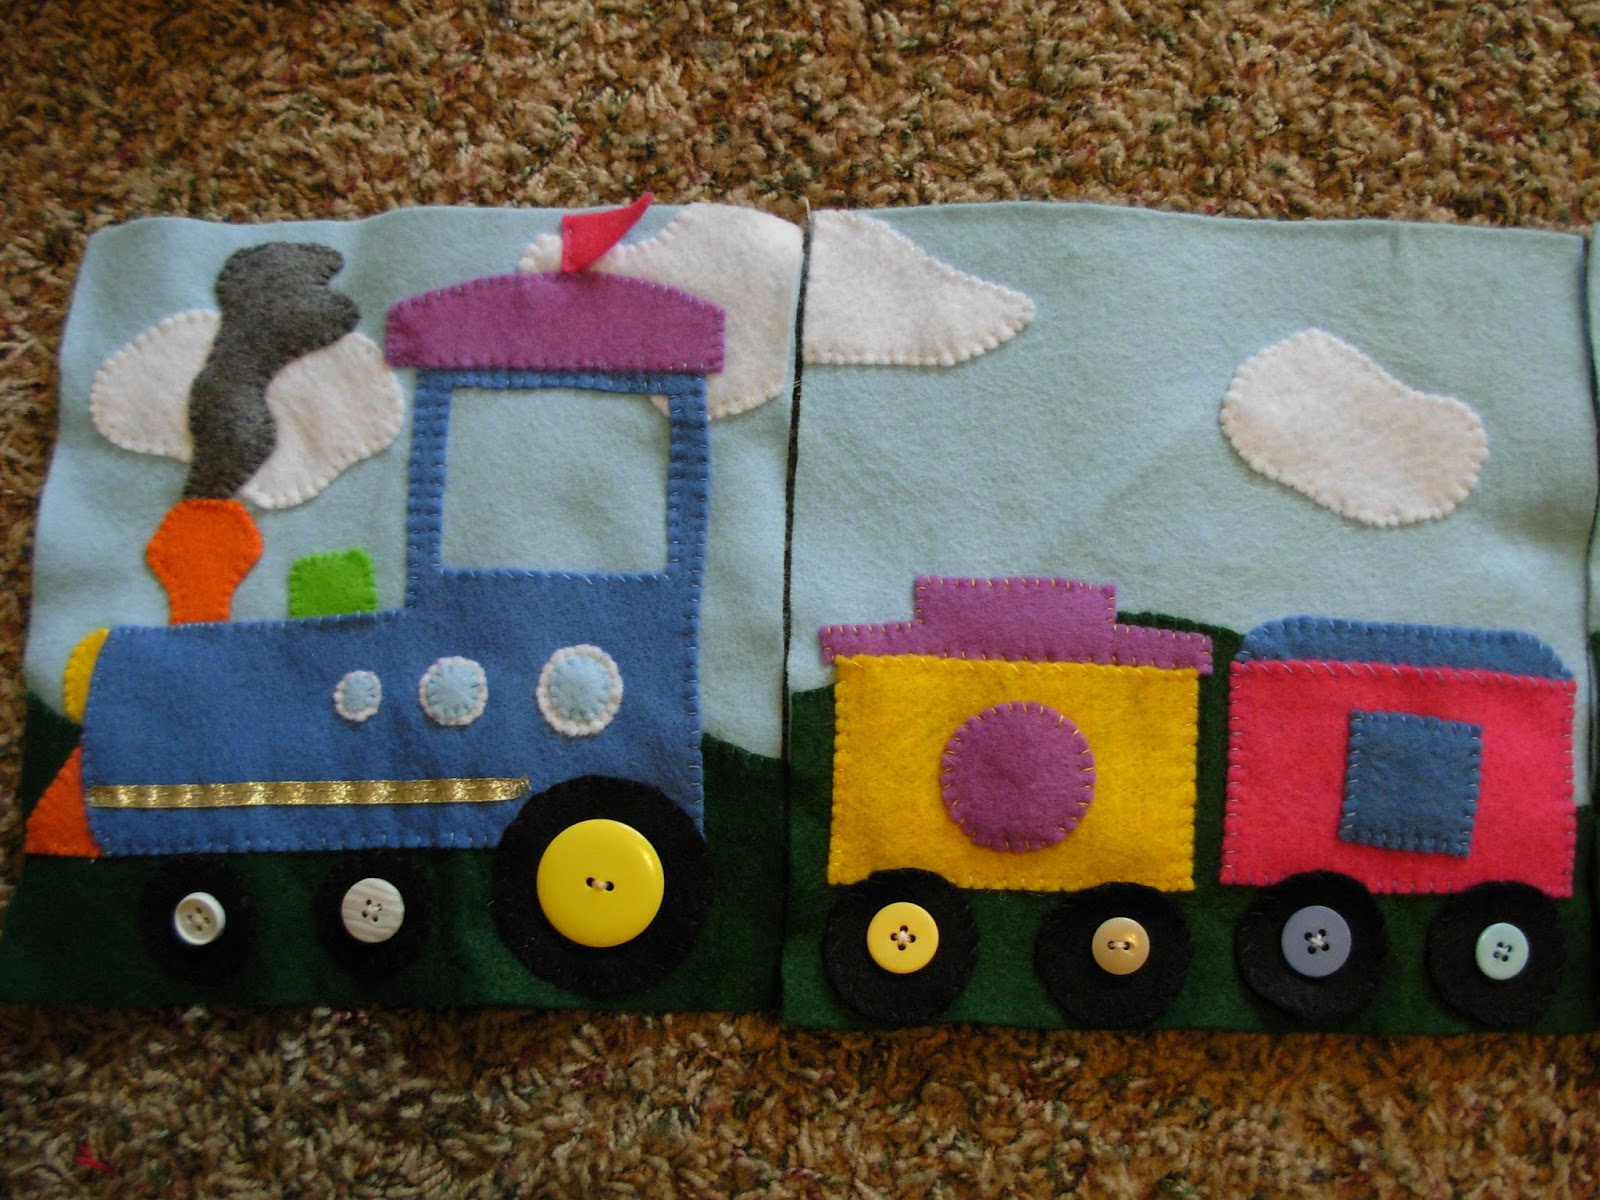
Circus Train
 |
| The original pattern from imagineourlife.com is two pages long with three animals (lion, elephant, monkey) but just for fun I decided to add a couple extra pages and a few extra animals. |
 |
 |
 |
| I'm planning to make the train fold out so you can see the whole train all at once. |
 |
| I made a few small changes to the elephant, monkey, and lion patterns and I added the mouse, penguin, tiger, and zebra using the basic parts of the existing pattern. |
 |
| I added a few stitches on each side of the bottoms of the puppets to help them stay on. |


Since I expanded my train by two whole pages I had to come up with a way to make it fit in my book. Here's what I came up with. It's actually pretty simple.

I connected the left two pages by simply overlapping the felt. Each page has a back side added on so you don't see the threats on back. When you add the back it covers the overlapping felt that connects the two pages. I made sure to only let that area be one layer thick so it could be the folding point. Then I put the grommets in the middle.

They fold up very nicely.

This is what the seam looks like. Sorry I know it's kind of hard to see (but that's the point right?) :)

The side view of the page might explain things better.

Here's the back side and you still can't tell.

Here's what it looks like all folded up.

I added this envelope pocket for the finger puppet animals to be stored in so they don't get lost. The ribbon slides through the slit and ties in front.

I SPY page
This page is a pretty standard I SPY page. I got the idea from imagineourlife.com and made it my own.
Basically put a piece of vinyl in between the felt layers and make the window whatever shape you want. Make sure to make the back double thick to make it strong.

Decorate it however you like...
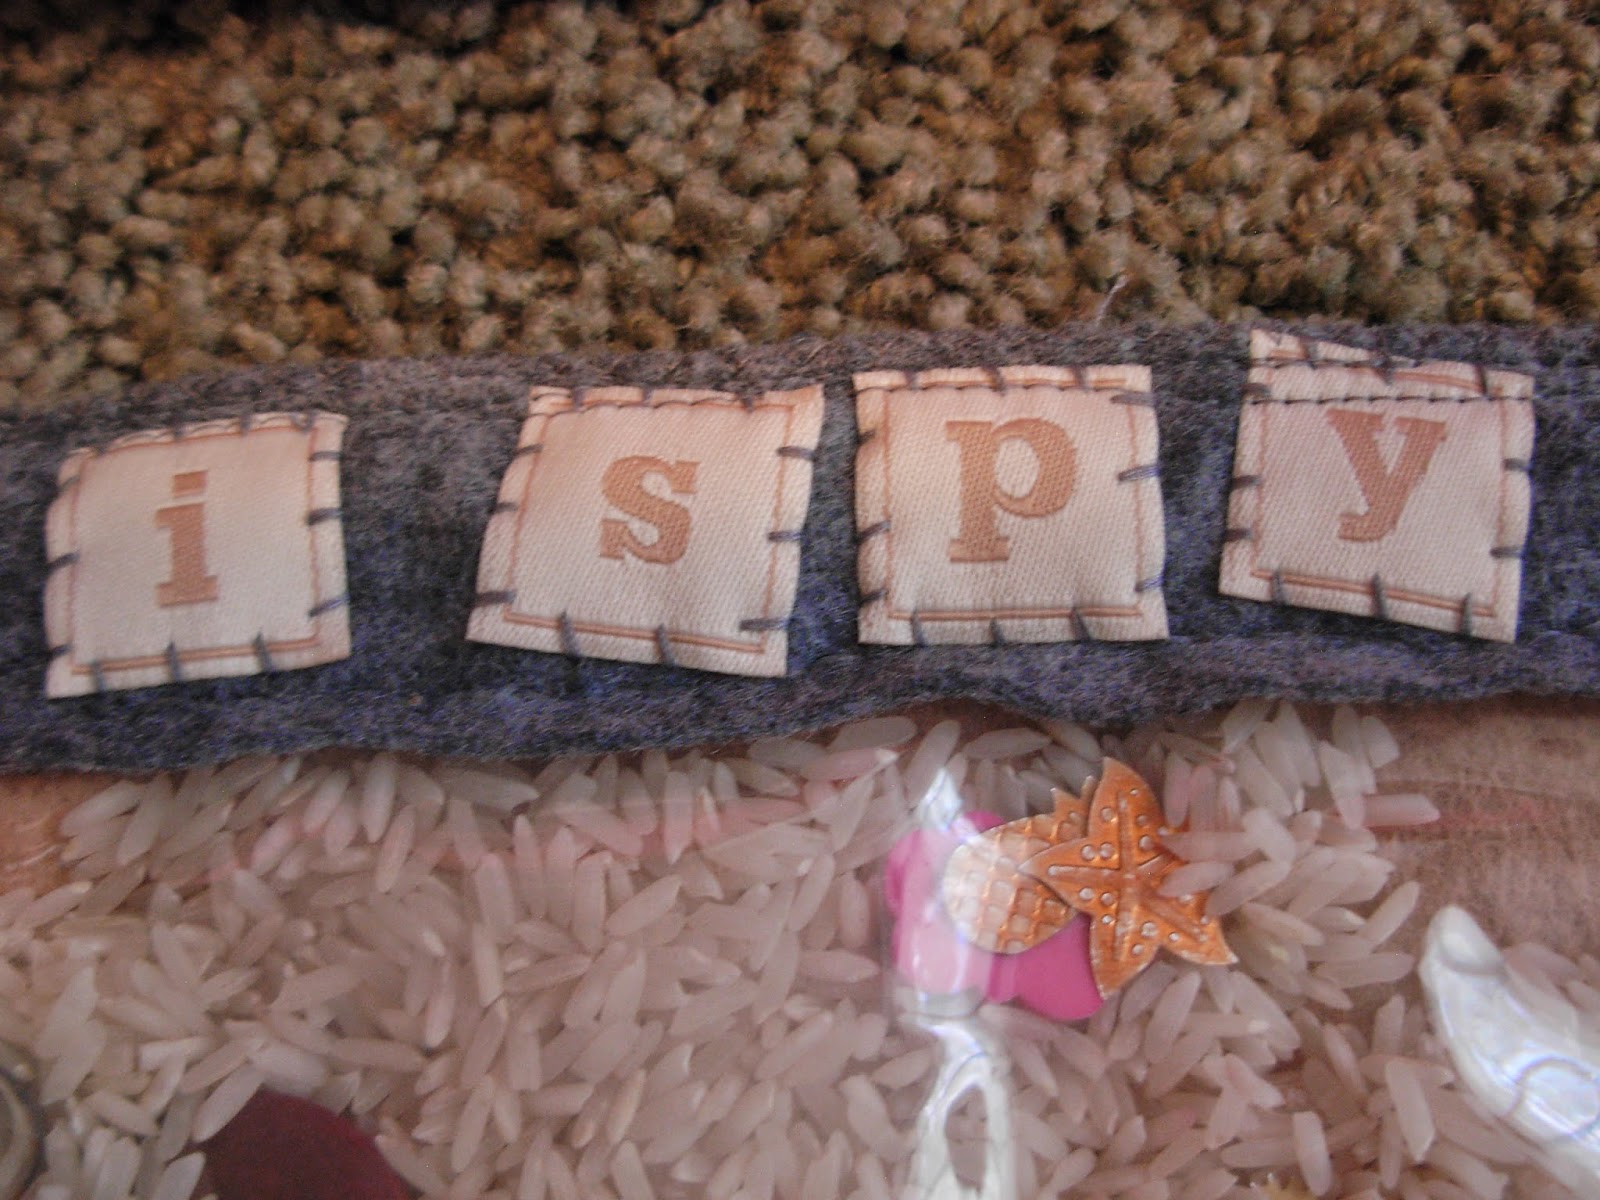
and fill it with whatever you want. I took pictures of everything before I put it in so that I can make a "spy card".

My little girl loves to find the clear ball, (above picture).

Have fun!
No comments:
Post a Comment